

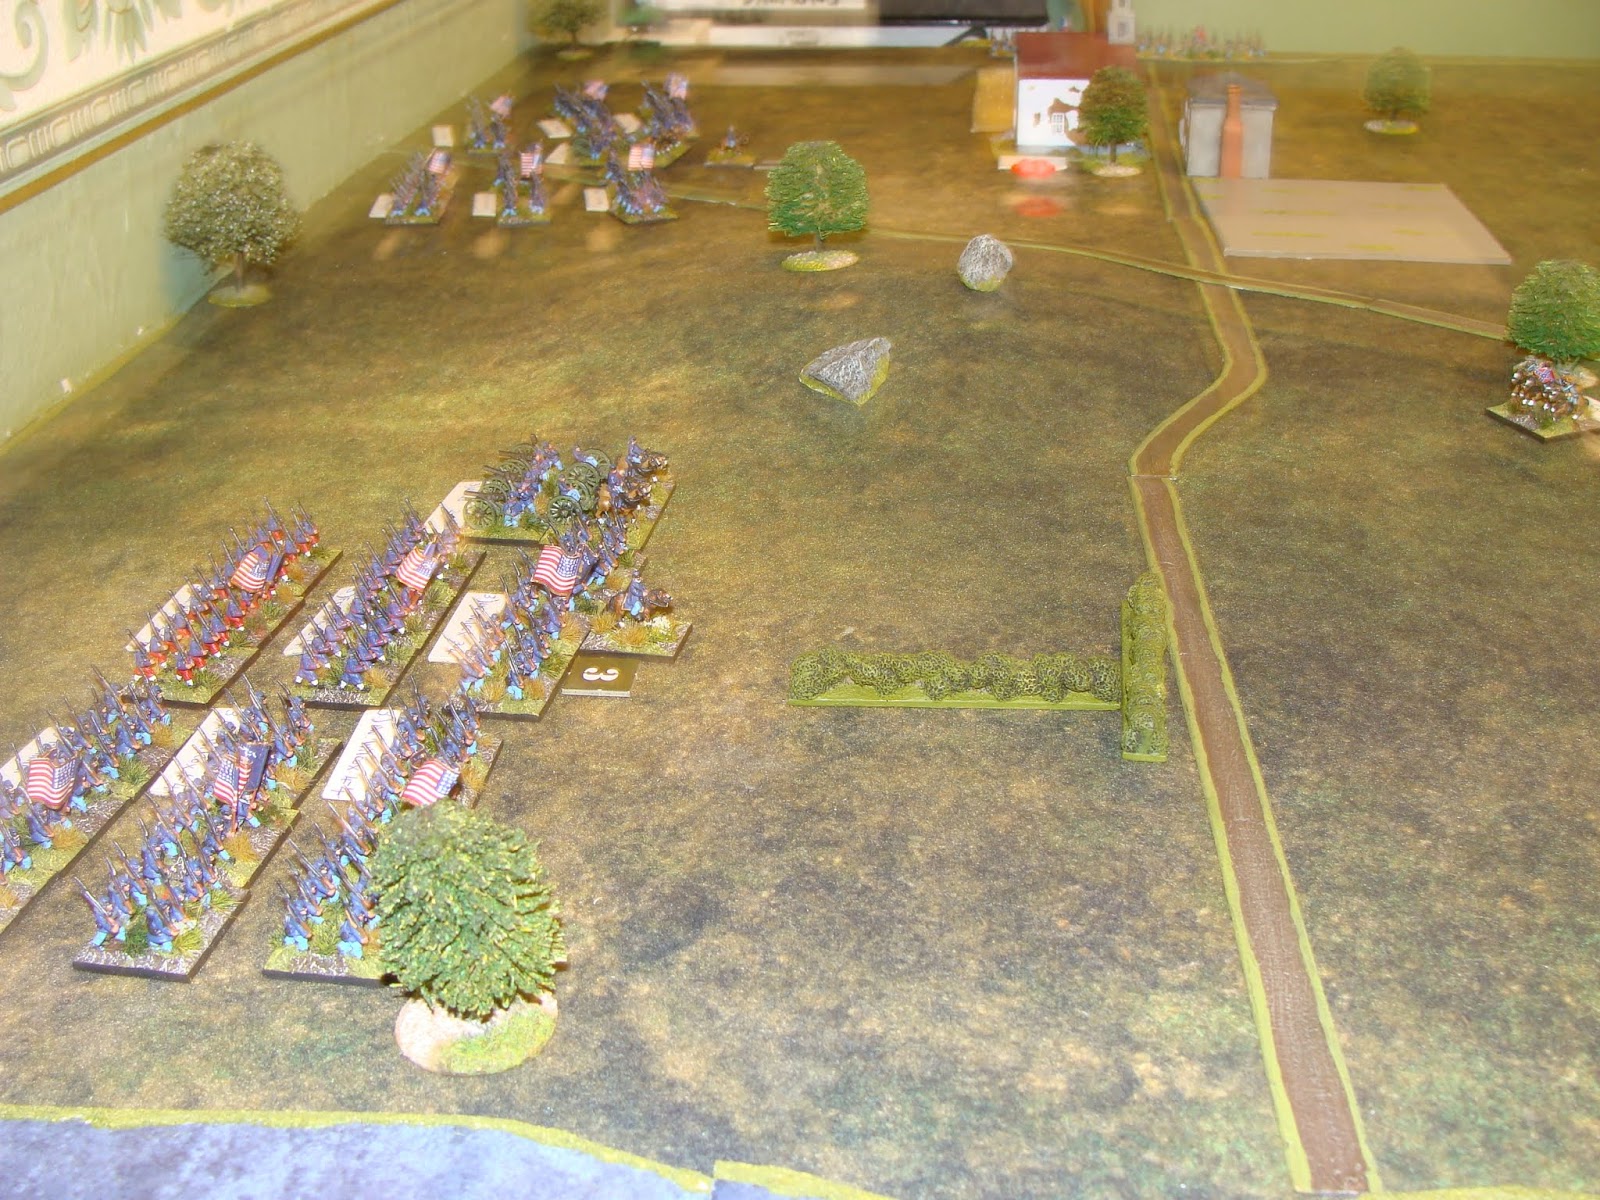
Last week John hosted a battle that we had never fought before, The First Bull Run and what an encounter it turned out to be. Both armies were made up of poorly trained regulars and 'led' by barely trained commanders, so perfect for my type of generalship.
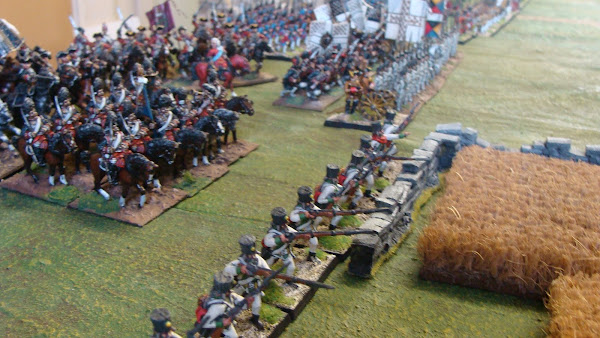
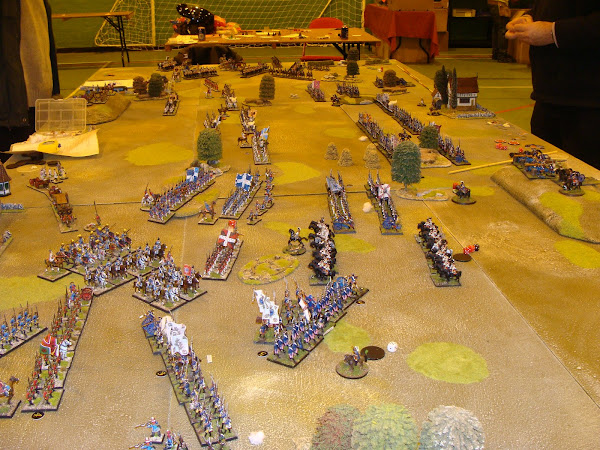
Even better we used probably our favourite wargames rules, Volley and Bayonet. These rules for brigade sized games were written by Frank Chadwick and Greg Novak and released in 1994! [was it that long ago?] and from their first release we used them. They were perfect for our large 6mm armies and whilst appearing simple to use were in fact very subtle and needed some careful thought.


The initial problem for the Confederates is that they have no commanders with their troops! and therefore the player has to throw a dice which on a 5 or 6 allows the troops to be classed as 'in command'. Other brigades which fail their throw are classed as out of command and can only move half their normal move and if they do move they are classed as disordered, and cannot move towards any visible enemy, so just a few issues initially for the rebels.
The Union meanwhile have brigades stacked up on the entry points and not where they need to be.The confusion was to cause the Union a lot of problems in attempting to seize up to three of the five objectives on the battlefield in order to gain a victory.
It was a battle that started in confusion using troops barely trained but in truth it was to the credit of the real life troops that they performed at all.


I used these rules a lot when they first came out and remember fondly playing a campaign using the rules ACW supplement.
ReplyDeleteIt may be fun to have a game using the rules with my classic Napoleonic figures.
Thanks Mark, they appear simple but are very clever with some great historical nuances.
DeleteI like your blog,I sincerely hope that your blog a rapid increase in
ReplyDeletetraffic density,which help promote your blog and we hope that your blog is being updated.
gclub