Vapnartak 2019
Firstly before I launch into a critique/ review of Vapnartak 2019 can I apologise for the fact that there are no images of the show. Why I haven't will become apparent as one reads the text.
Secondly can I also say I really enjoyed the day,again the reason why I did will become obvious.
John, Neil and I arrived at the show very early 09.00 ish in order that we can get parked near the main entrance and also in order to be able to stand in the foyer where it was slightly warmer than outside where a large queue quickly formed in the cold wind.
As we were standing I spotted a friendly gent in front of me with a lot of boxes of stuff he was wanting to sell in the Bring and Buy. I'm sorry I didnt get your name, it was very remiss of me given as you have actually read my blog.
Being a nosy chap I had to ask him what he was selling. When he opened the box files I saw rows of partly painted Hinchliffe and Mini Fig ECW cavalry. He explained they had belonged to a now dead wargamer who had collected figures. He seemed convinced that no one would be interested in them! Under the box file was a large but old cassette box [ cassettes were a small rectangular form of recording music etc.] which was filled to the gunnels with unpainted Hinchliffe and Mini Fig ECW infantry. Kismet!
I had made my first and best purchase of the day and before the place was open.That helps explain why I found the day very enjoyable.
We were finally allowed in at exactly 10.00am and not a second less. It seems very important that no one entered a few seconds before the official time. So after a cup of hot tea [quite pricey, but welcome] I began to prowl the halls.
I quickly formed the impression that the show was quieter than last years event and it seemed easier to walk about show.I think the weather may have had something to do with this even though there had been no Armageddon like wintry conditions in North Yorkshire.In fact there was no snow? [Are you reading this BBC]
I made my way up to the Bring and Buy and joined the long queue to wait my turn to file into the heaving mass. I sometimes wonder why I put myself through this ordeal given the risk to body and soul. I hope my grandson appreciates the effort his grandfather made to buy him some cheap Space Marines.
The Bring and Buy was mobbed with large men of various shapes bearing rucksacks that invariably ended up in my face.[ Im a bit of a short arse] That I could handle, but the assault on my nose was a bigger issue, and this year York seemed to have more people in need of soap and water than in other years. It must have been the weather, perhaps their pipes were frozen.
I did buy some Space Marines so it was worth the effort. After buying the stuff I needed? from Dave Thomas etc I decided to check out the demonstration games to see if there was anything that would inspire me.
Can I say I have put on a lot of demonstration games over the years, I know the effort it takes to stage a game. It was one of the reasons John and I retired from such games, its very tiring. So I fully understand and appreciate when people take the time to stage a game.
However.......
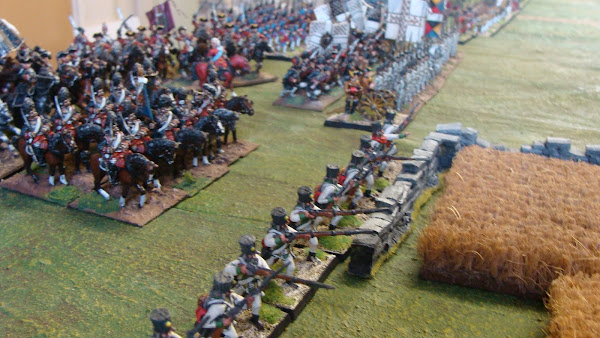
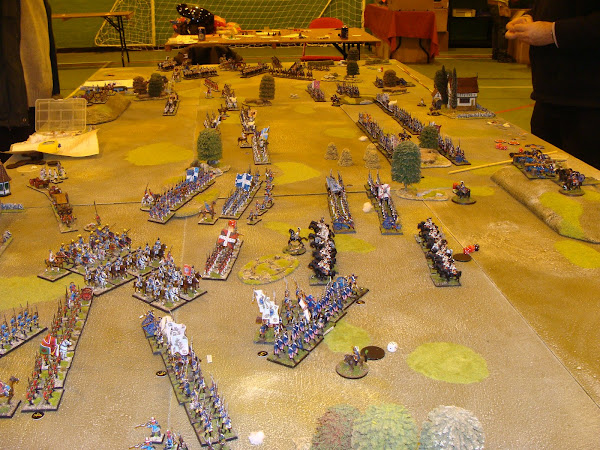
Well the very large 28mm ECW was present [check] Lovely figures, great terrain.
The very large 28mm desert game was present [check] Lovely figures, great terrain.
There was a very nice Indiana Jones game on show but unfortunately no one seemed to want to explain the game and more importantly for me, how they made the terrain. I must have picked the wrong time. To be honest I was more impressed by the smaller card table games upstairs and yes, even by the competition games. So for the first time I didn't take any images. No doubt someone will have done so, and good for them.
So off to the cafe for a sandwich and some chat to anyone who could suffer my wittering. I felt like the nutter on the last bus home.
I then decided to face the crush of the Bring and Buy again, to check out the new sellers and their stuff.Now here's the thing, the same people were still at the tables selling exactly the same stuff as before. It was very obvious that they were bone fide traders. Other bring and buy tables were actually standing empty, as if last years crush had put people off.
I like bring and buy's, sometimes I will book a table to sell off some stuff at cheap prices, but it is becoming increasingly obvious that some smaller traders are seeing this as an opportunity to set up in a wargames show and not have to pay for a trade space.It doesnt seem right somehow.
After a bit more retail therapy and some more chat to various wargamers I know we headed home, tired but happy.
I enjoyed the show, but then I like any wargames show within reason. Will I attend again? Of course but the York Group should really think about how to improve the bring and buy situation and perhaps redress the issue of traders booking tables. And of course there remains the elephant in the room, the demonstration games that seem to barely if ever change. IWG show rating...6/10.